Chatbot Flows
Draw a conversation with blocks that guides customers step by step. Start from a ready-made template, test it in the simulator, and publish it.
Chatbot Flows guide your customers through a conversation, step by step, without you lifting a finger. You draw the conversation as blocks on a canvas: ask a question, show a menu, tag the person, hand over to you. It is the ninth icon in the WAFlow bar.
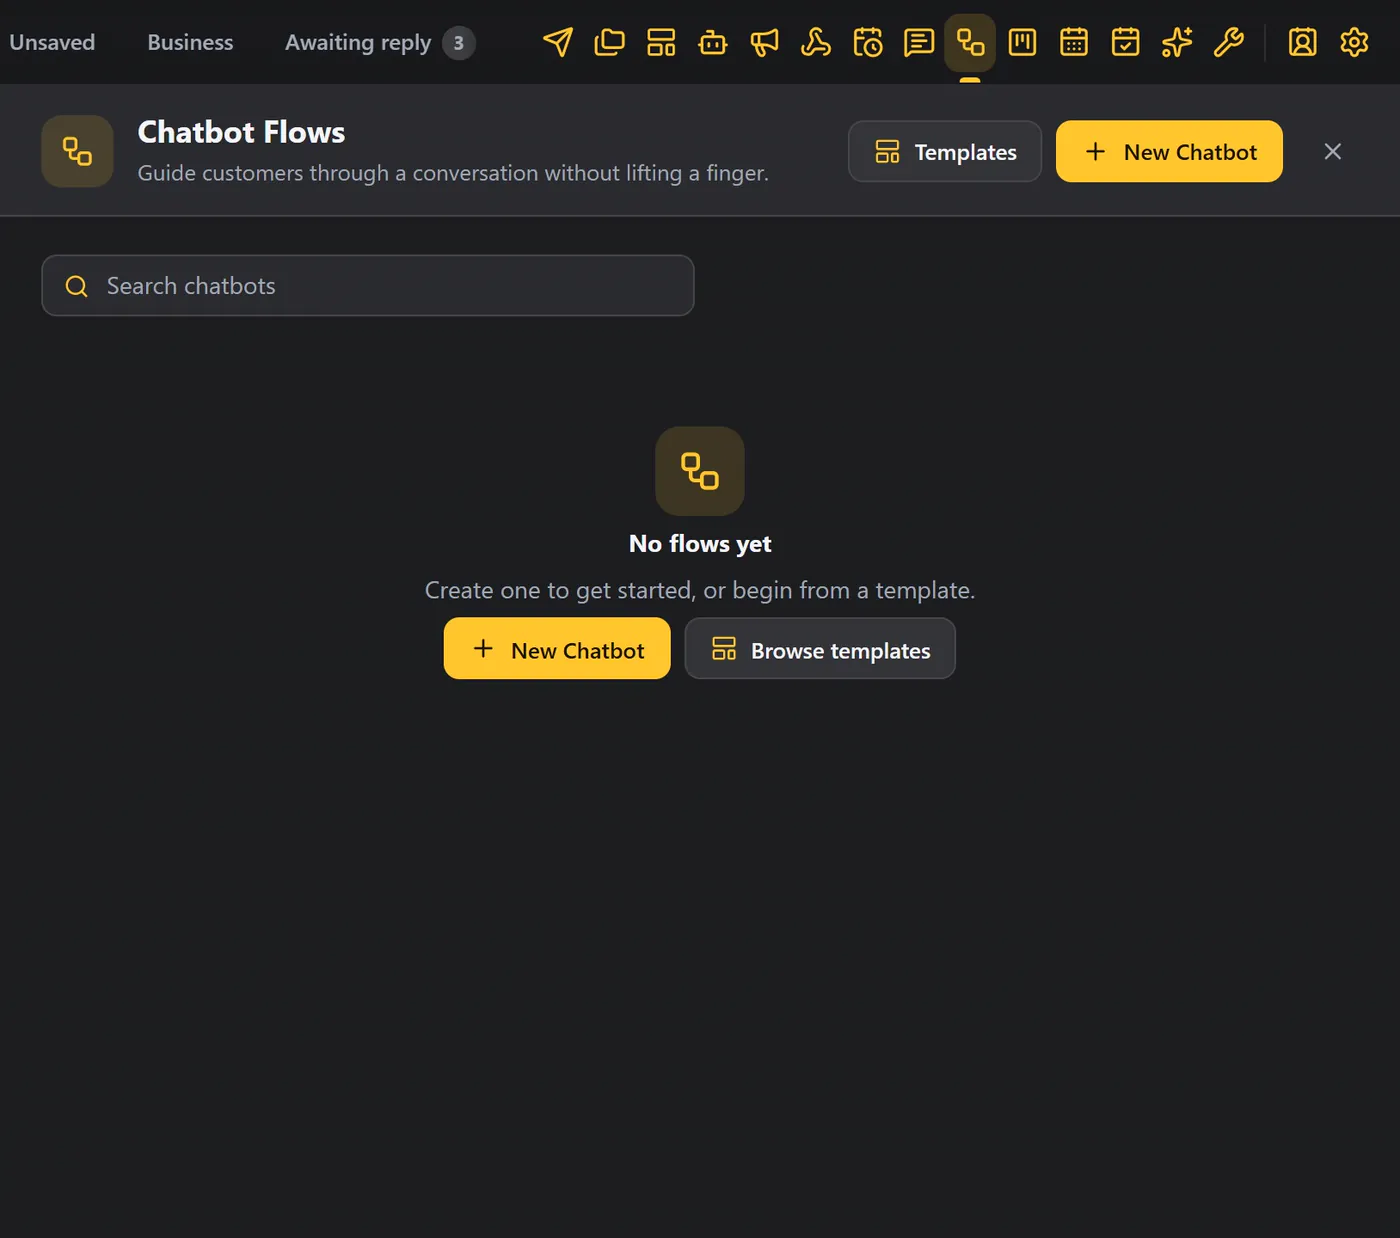
You can start from scratch with New Chatbot, or from a ready-made design with Templates.
Start from a template#
The template library has ready-made chatbots, by industry. Search by name, or filter by industry: online store, clinics, services, delivery, salons and more. There are seven starter templates, including Welcome message, Lead capture, Order status, Track a parcel, Book an appointment and Salon menu.
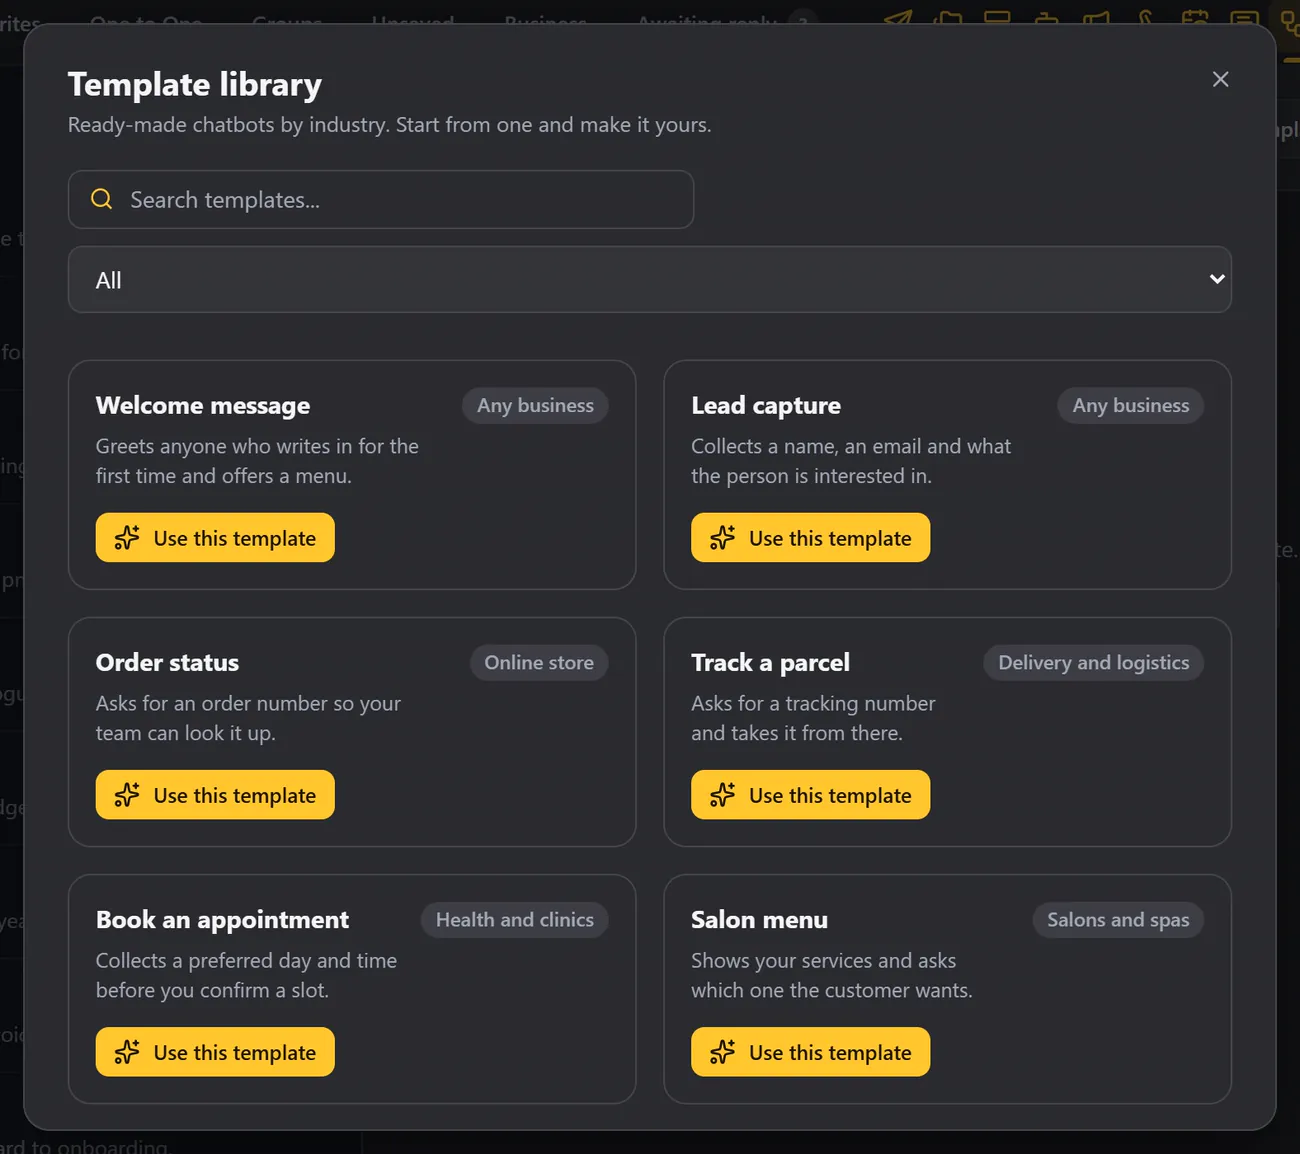
Click Use this template on the one you want. Welcome message greets anyone who writes in for the first time, and offers a menu.
Name it and choose what starts it#
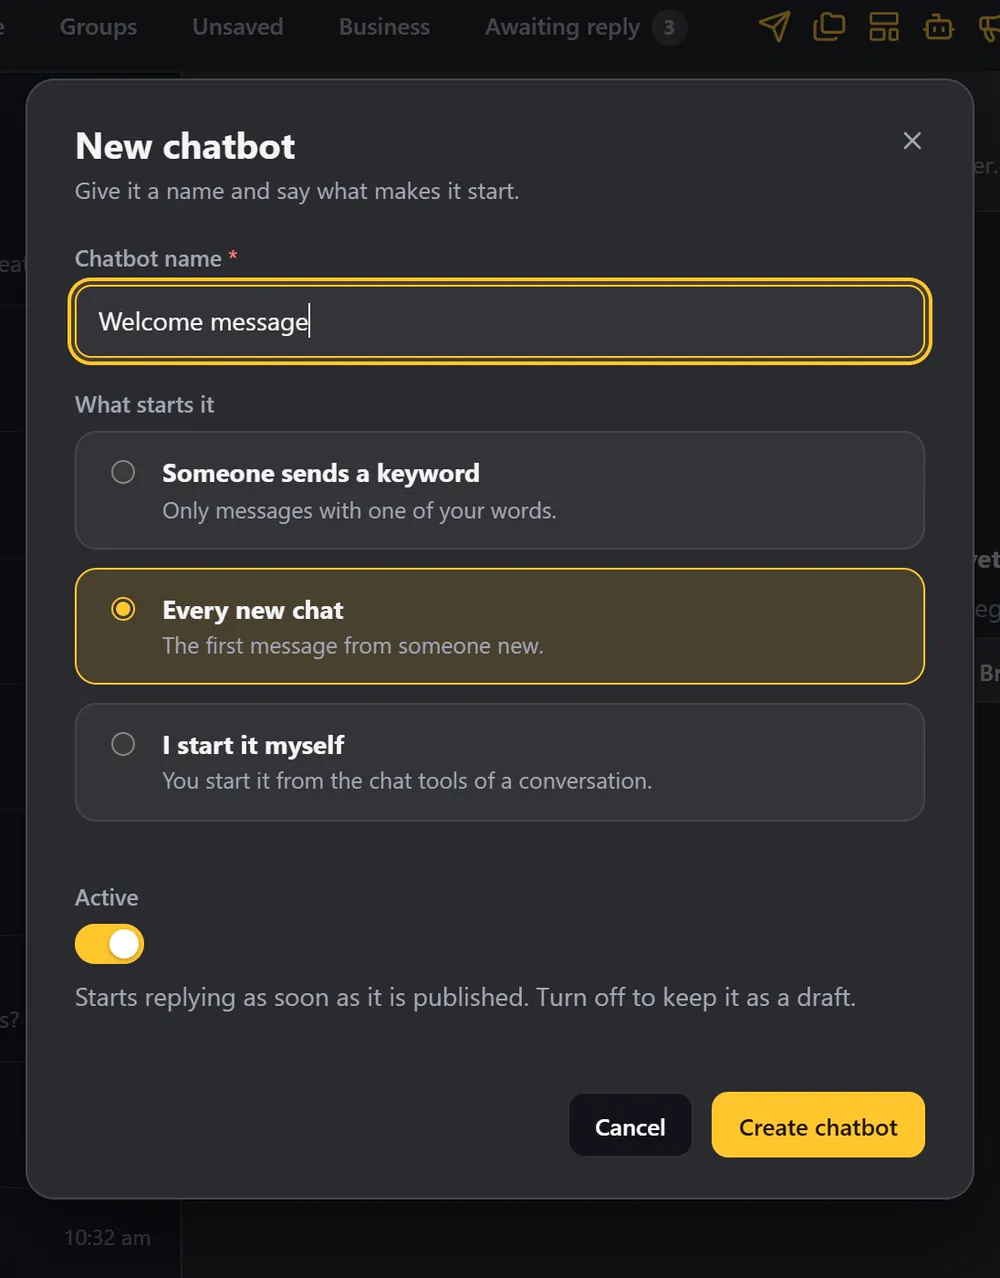
Give the chatbot a name, then choose what starts it:
| Start | When |
|---|---|
| Someone sends a keyword | A message contains your words, just like a message bot. |
| Every new chat | The first message from someone new starts it. |
| I start it myself | You start it from a chat, when you choose, from the chat tools in Contact details. |
Active means it replies as soon as it is published. Click Create chatbot.
The builder#
The builder opens full-screen inside WhatsApp Web.
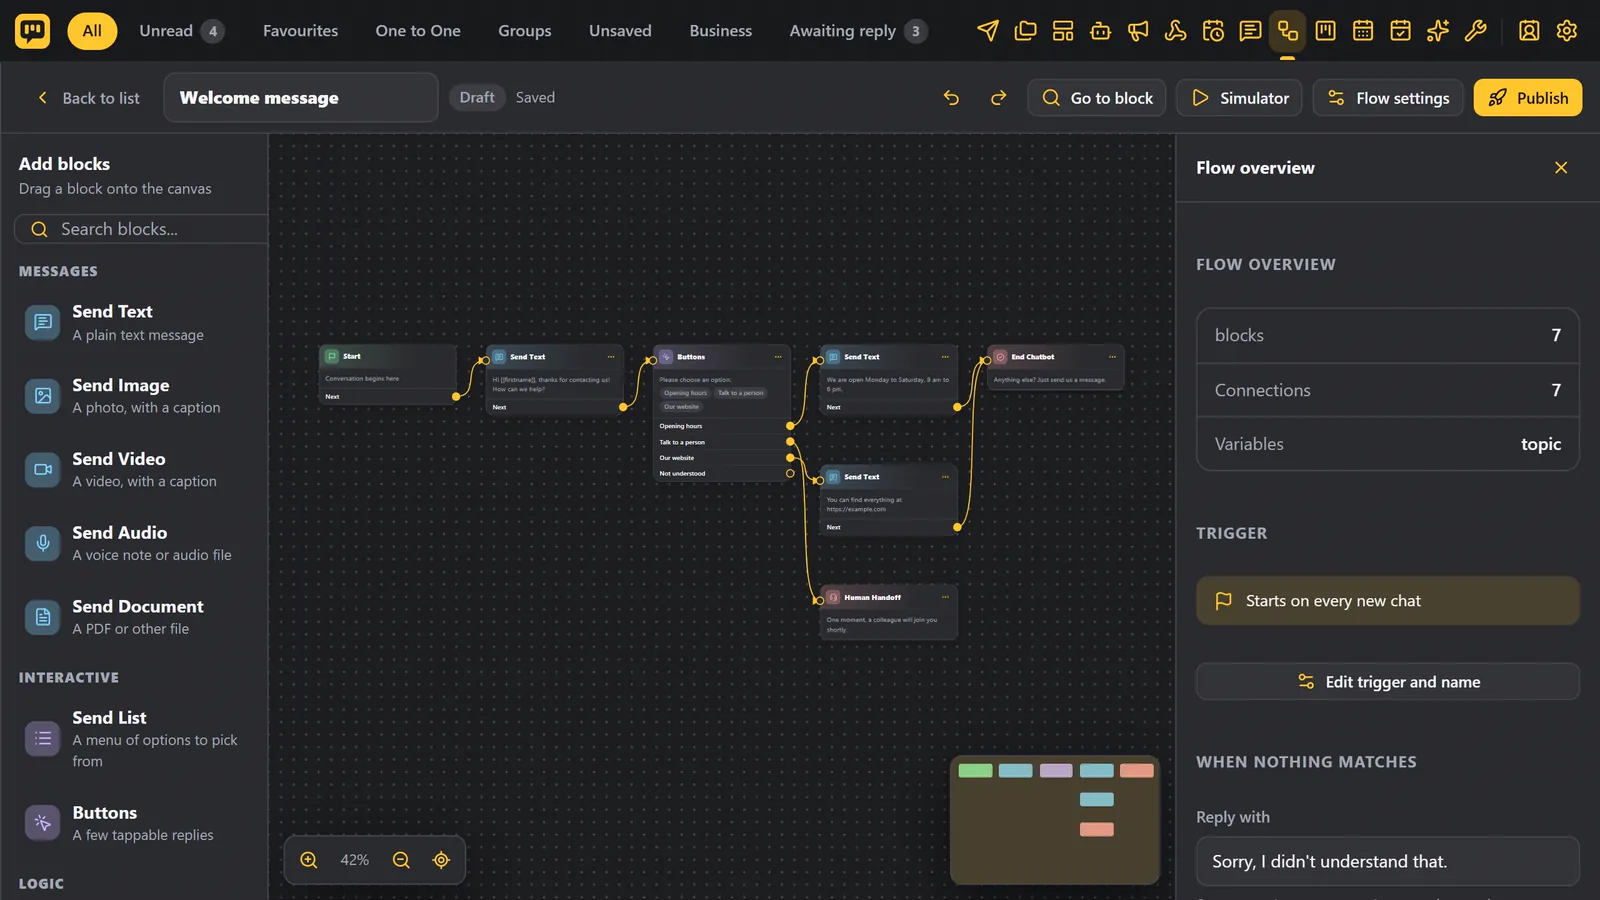
- At the top: the chatbot's name, whether it is a Draft or Published, undo and redo, a search for blocks, the Simulator, the Flow settings, and Publish.
- On the left, the palette: blocks to send text, images, videos, audio or documents; lists and buttons; conditions and variables; delays and jumps; tags and actions; API requests; and a human handoff or an end.
- In the middle, the canvas: each block is one step. Start begins the conversation, and the lines show where it goes next.
- On the right: the properties of the block you clicked, or an overview of the flow.
The Welcome message template greets the customer, then shows three buttons. Each button leads to its own answer, and one hands the chat to a person.
Edit a block#
Click a block to edit it on the right. For the greeting, change the message and use variables, like first name.
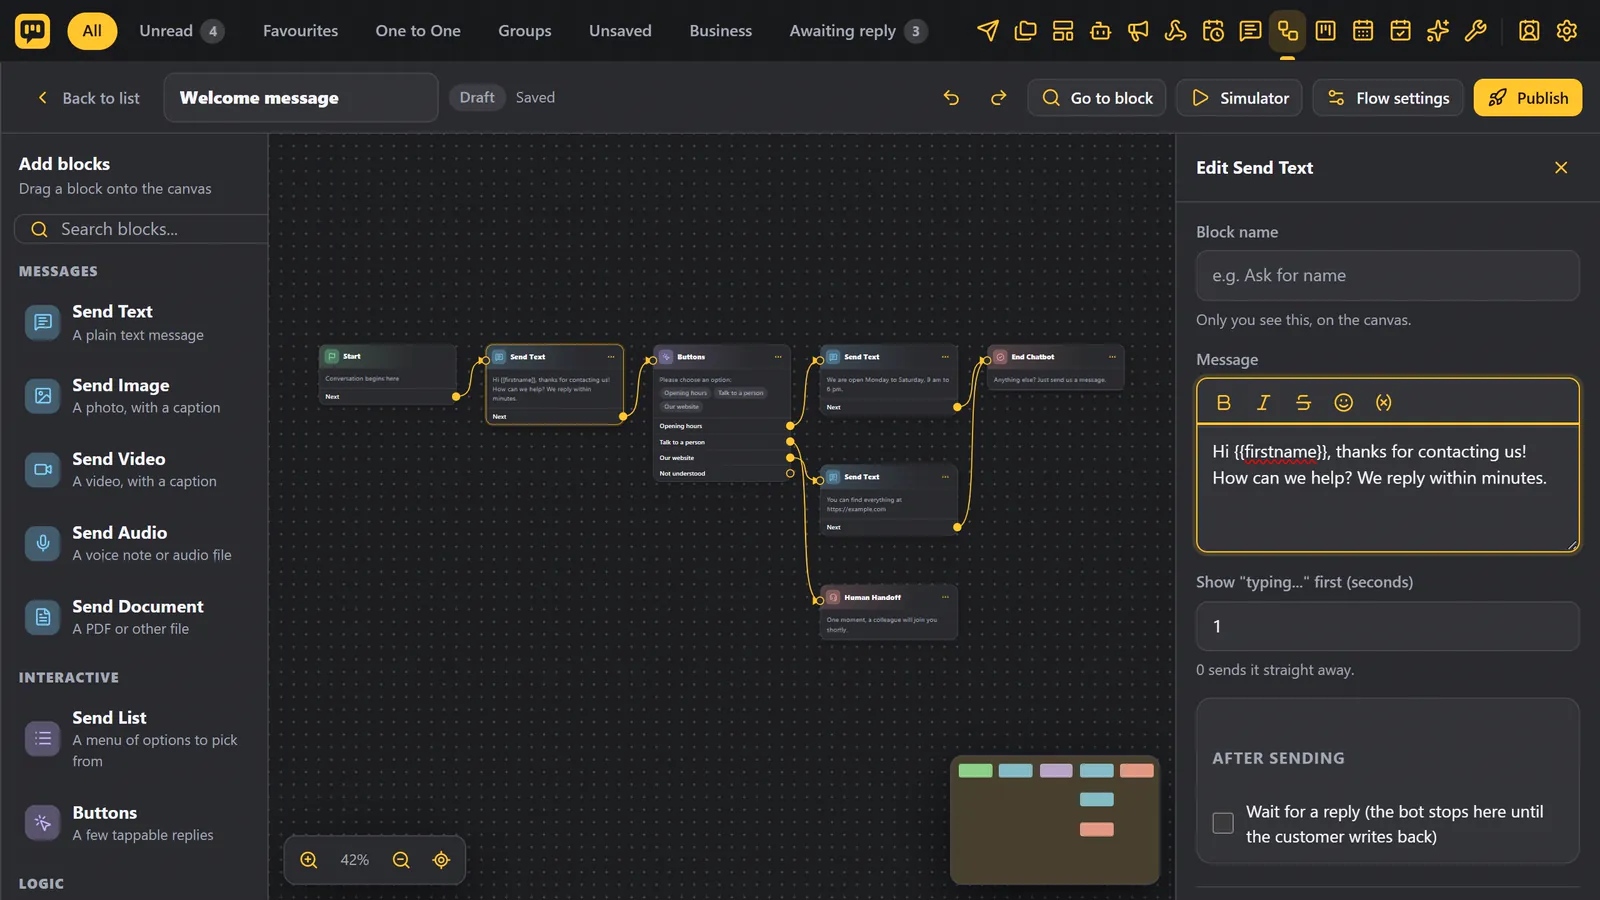
The Buttons block has an exit for every button, and one more for when the customer says something else.
Add and connect blocks#
- To add a block, click it in the palette, or drag it onto the canvas. For example, add Tag Contact.
- Drag a block by its title to move it.
- Drag from the dot on its right, and drop it on the next block, to connect them.
- Pick the tag on the right. Now everyone who asks about opening hours is tagged.
Test before you publish#
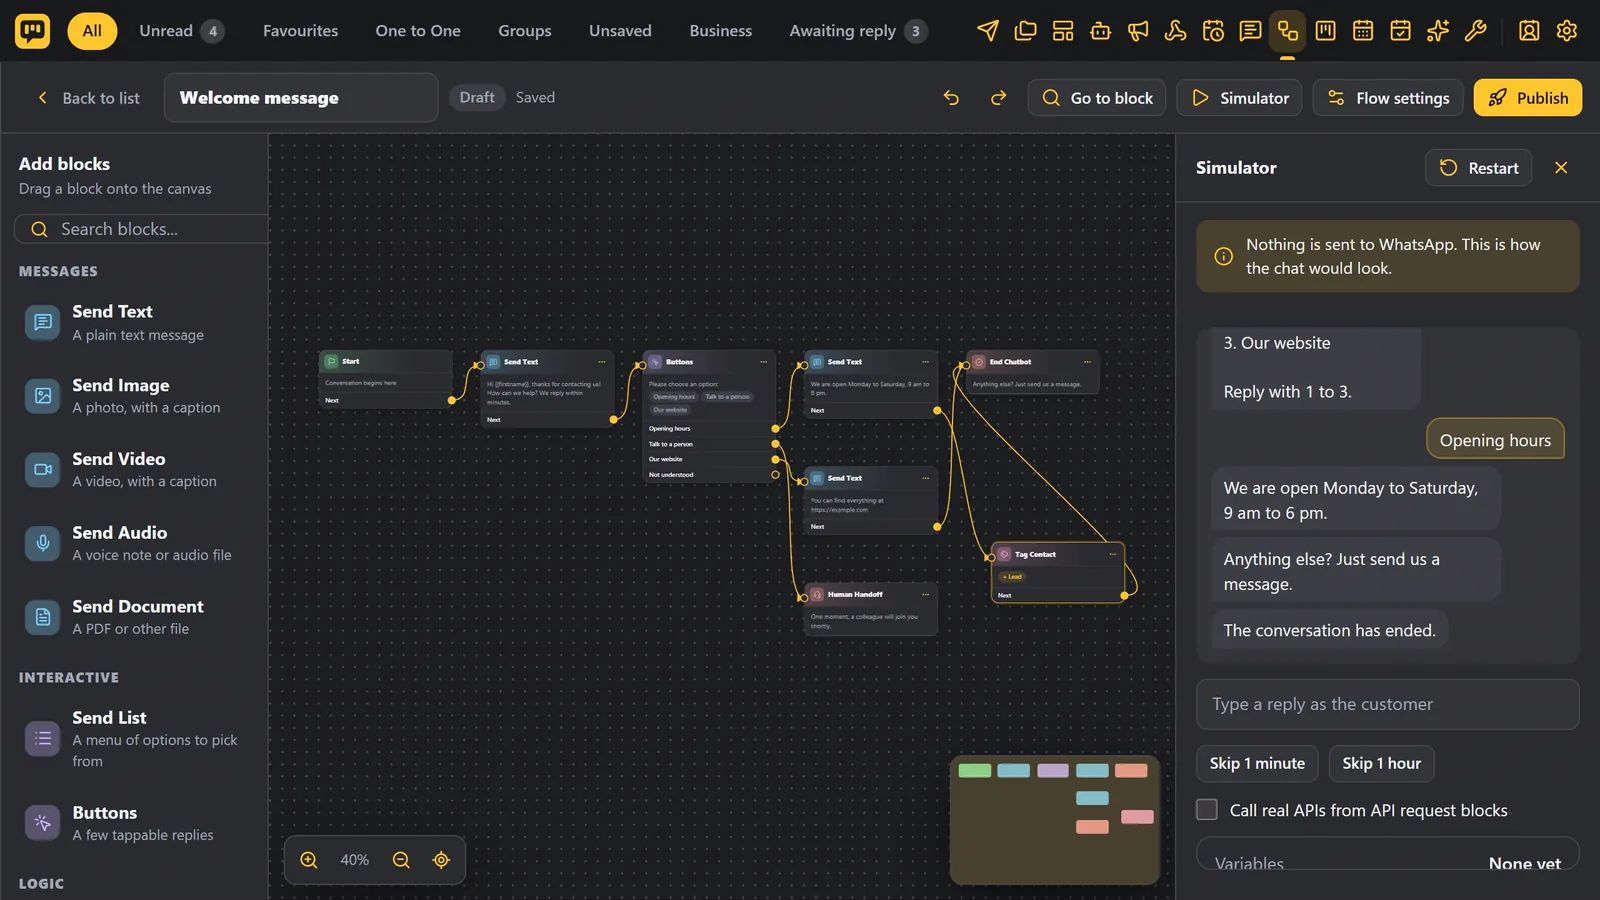
Click Simulator. Nothing is sent to anyone. Type a reply as the customer, and the chatbot answers, step by step. Any saved answers show underneath.
Flow settings#
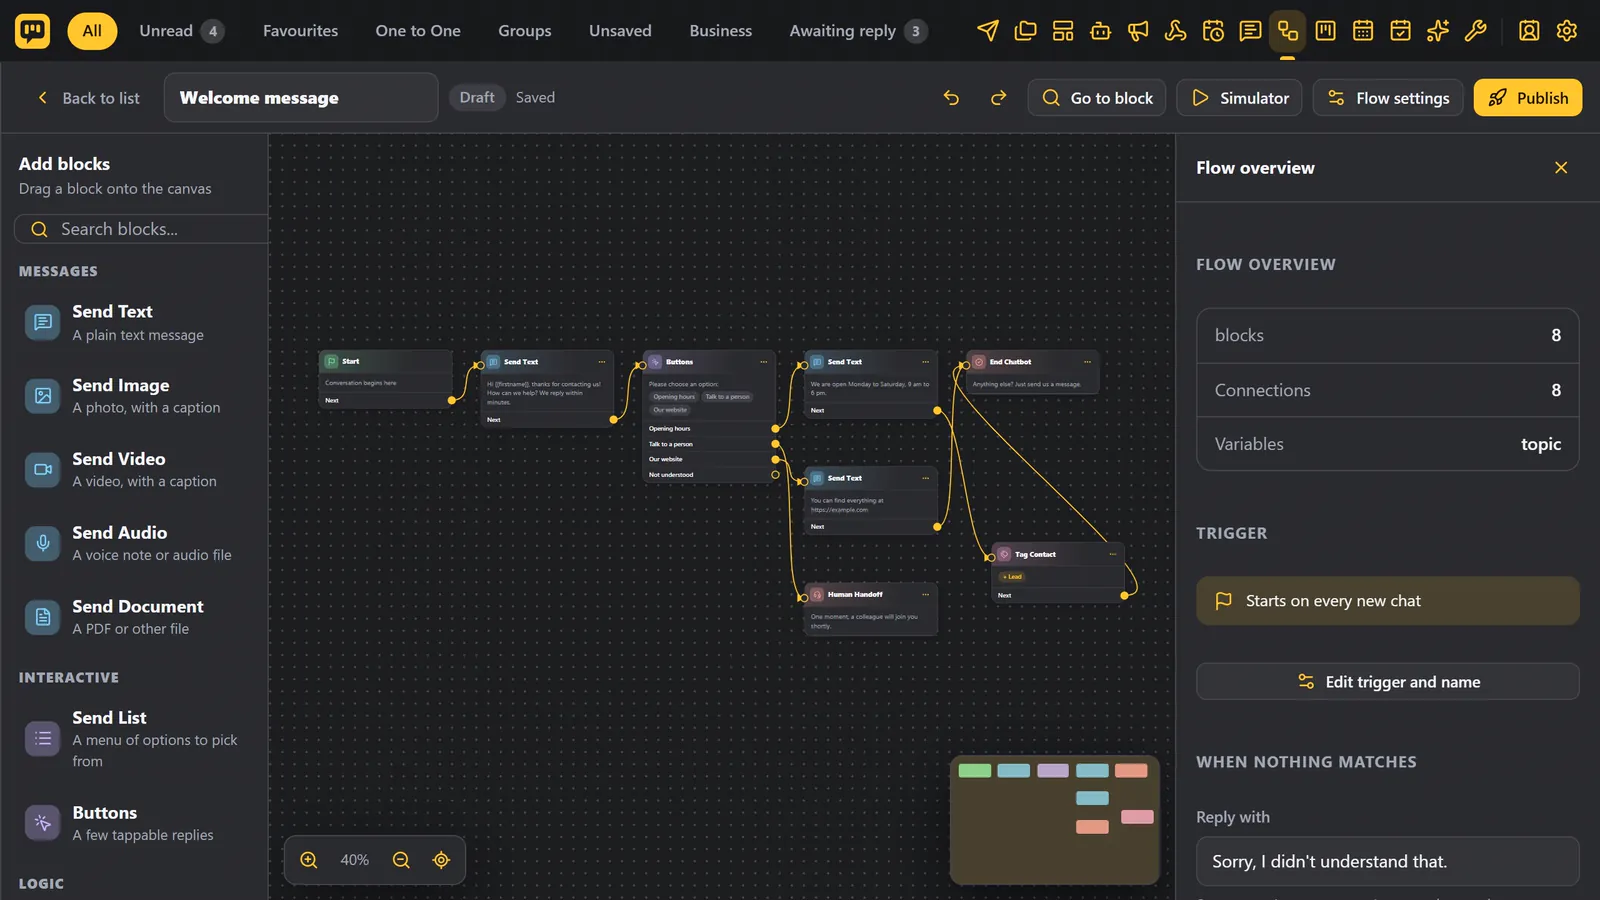
Flow settings are on the same panel.
- The trigger. What starts the chatbot.
- The reply when nothing matches. For example Sorry, I didn't understand that.
- Opt-out words, which stop the chatbot.
- Words that jump to a block, from anywhere in the conversation.
Publish#
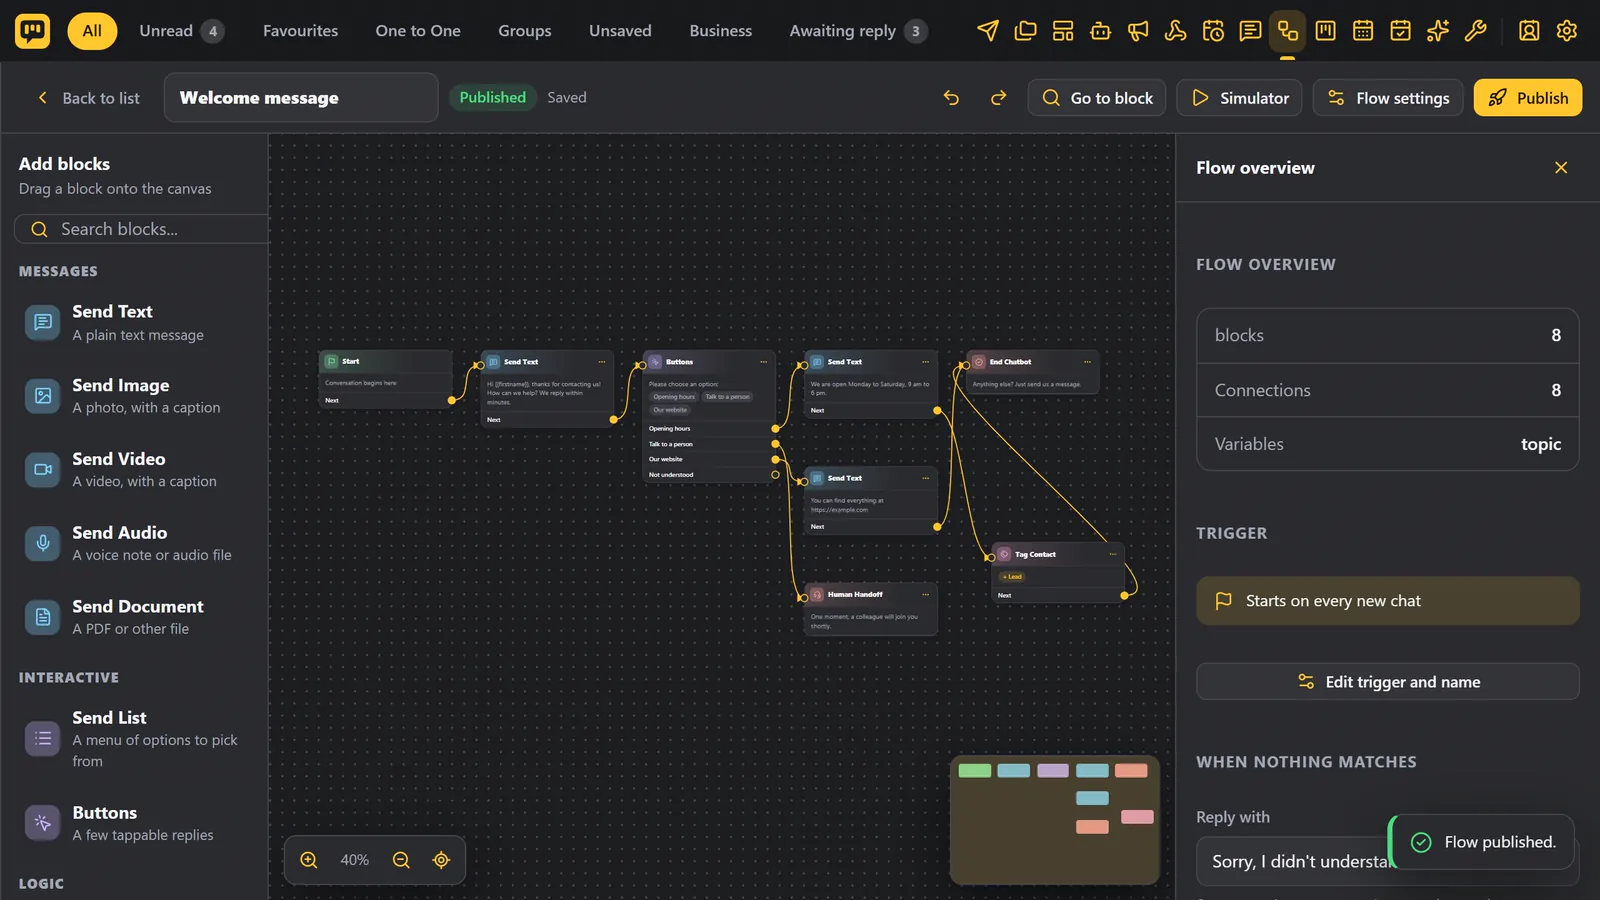
When you are happy, click Publish. The chatbot goes live, and the badge says Published. If you change it later, the badge says Unpublished changes, until you publish again.
Manage your chatbots#
Each chatbot is a card, with its trigger, its status, how many blocks it has and how many times it has run.
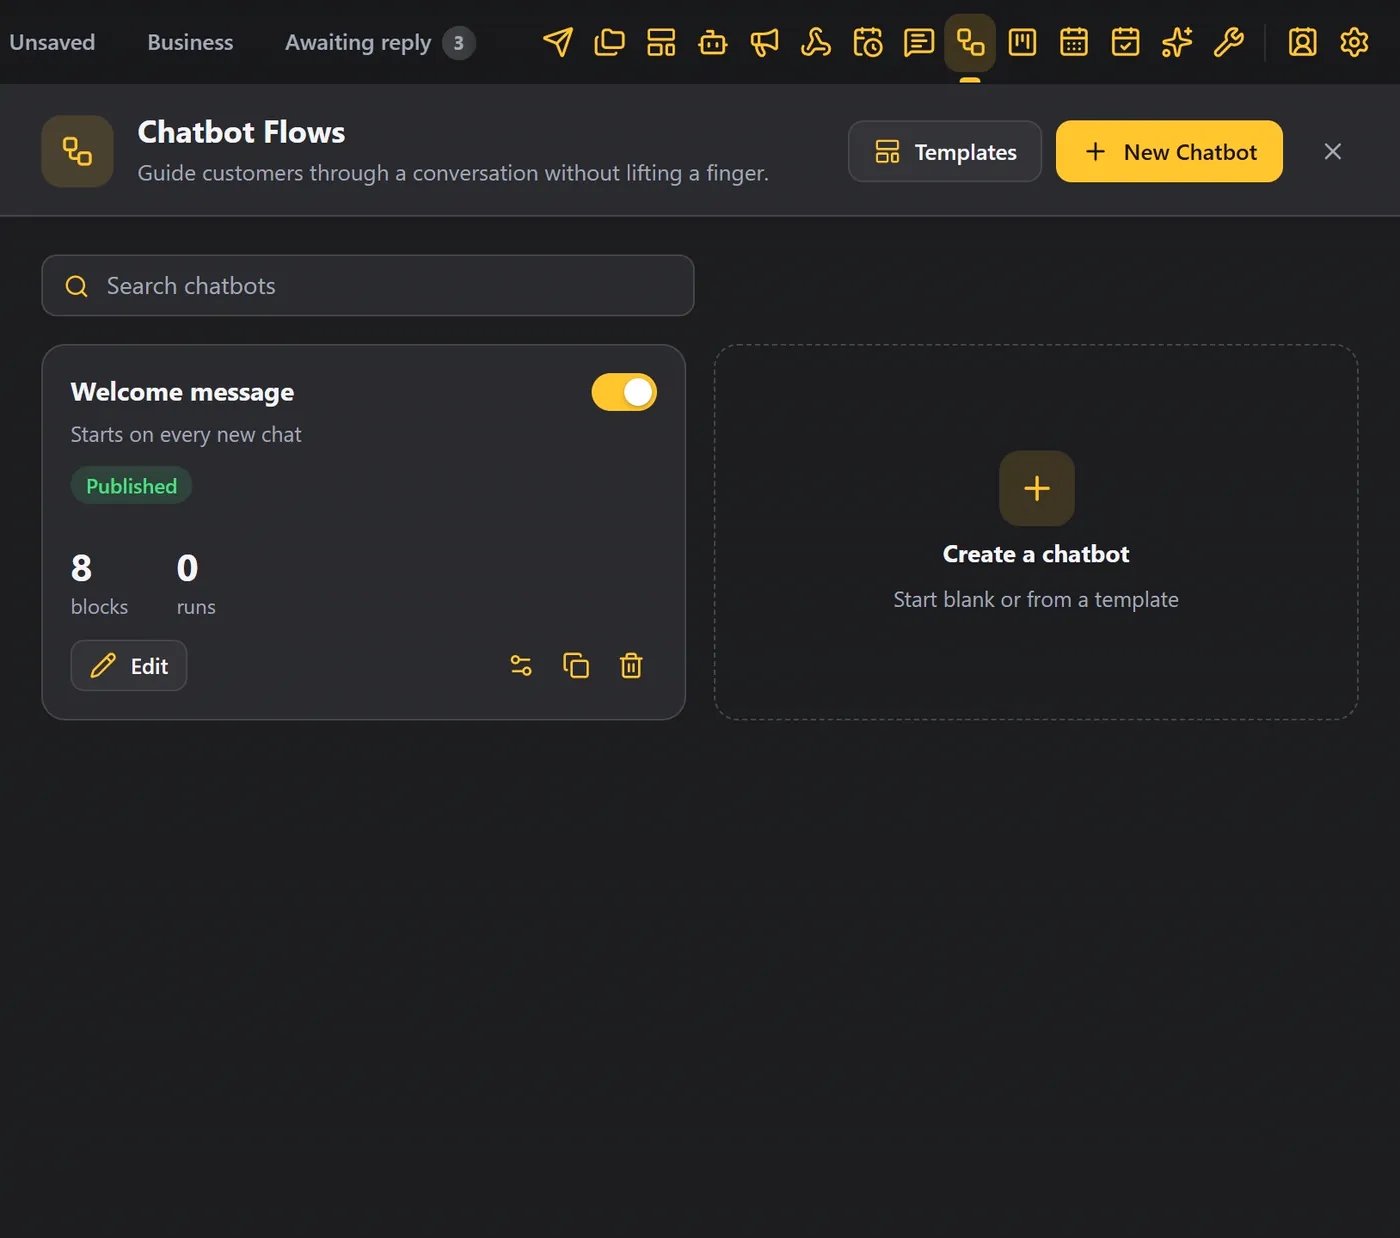
- The Active switch turns it on or off.
- Edit opens the builder.
- The gear opens the name and trigger.
- The other icons copy it or delete it.
A real conversation#
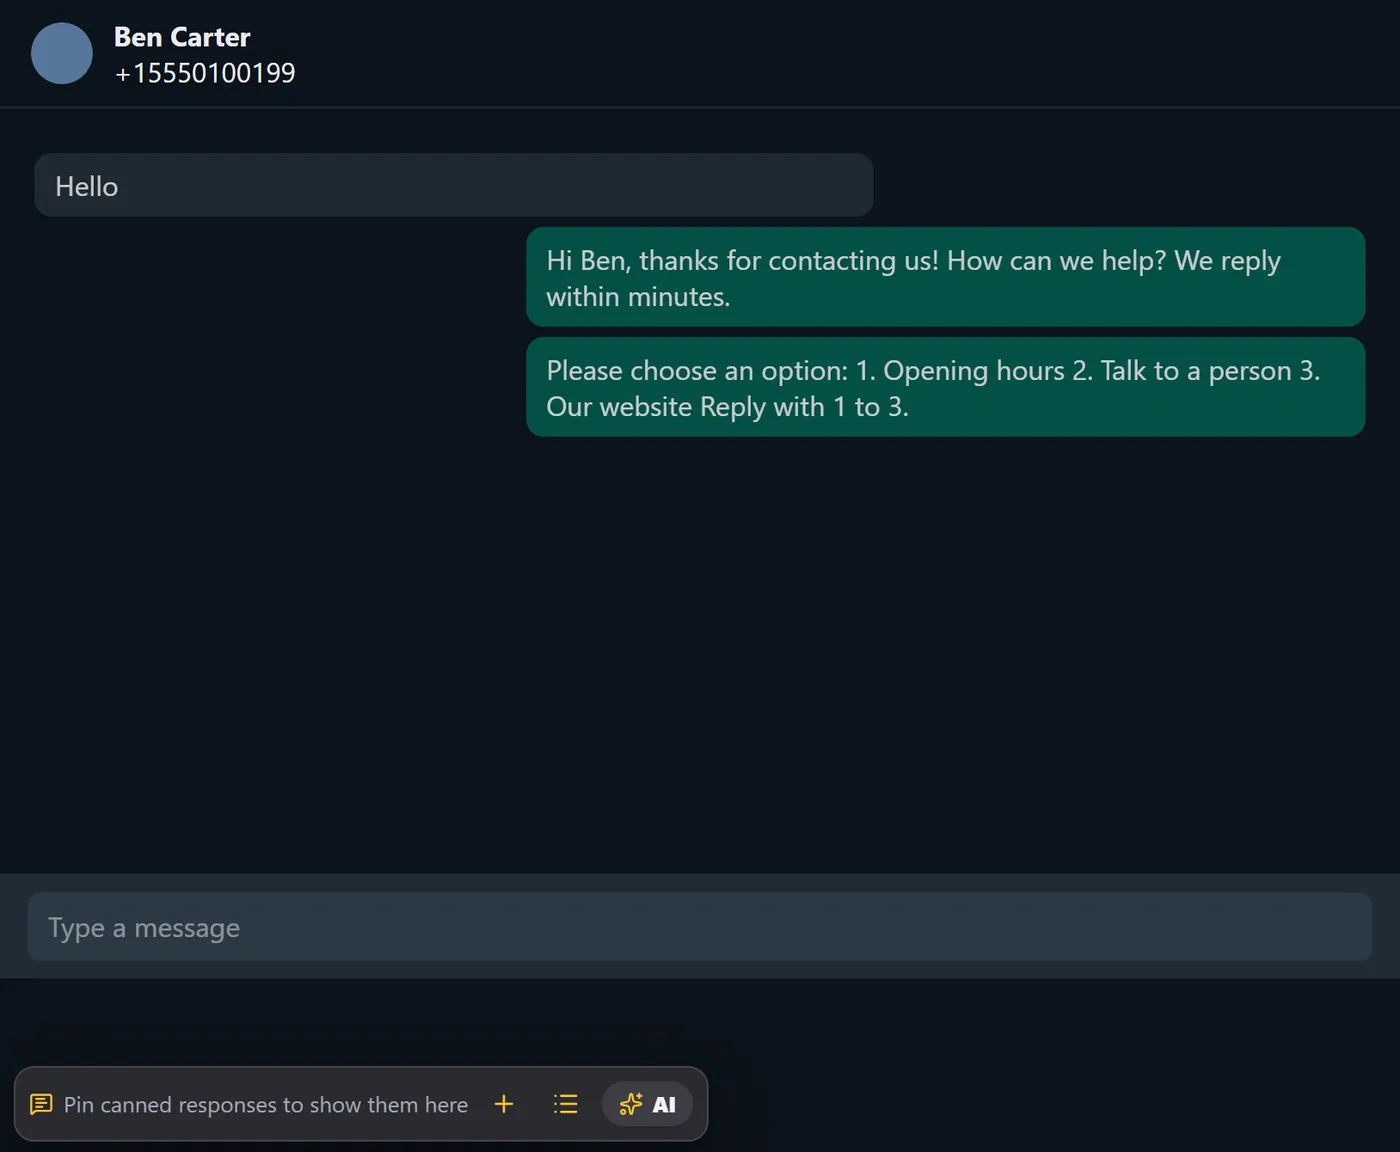
Someone new writes Hello. The chatbot greets them by name and shows the menu. When they choose Opening hours, it answers.
Start and stop a chatbot in one chat#
Open a chat, click Contact details (icon 15), then chat tools. You can start a chatbot in this chat, or stop the one that is running. You can also pause all bots for this chat. See Contact details.
Tips#
- Start from a template and change it.
- Test in the simulator before you publish.
- Add a human handoff so nobody gets stuck.
- Set opt-out words so people can stop the conversation.
- Chatbots can also send to webhooks and call other services with an API request block.